Newsela launched in 2013 with a bold mission: Meaningful classroom learning for every student. Today, our team constantly strives to deliver powerful solutions that inspire our users.
Teach the Engineering Design Process to Your Students
Lindsey Menichetti
August 12, 2025
Understanding and using the engineering design process (EDP) can help transform your classroom and student learning. It can guide students’ approaches to challenges, nurture their ability to create solutions across the curriculum, and foster science, engineering, technology, and math (STEM) literacy.
Today, we’ll look at the steps of the engineering design process and how to address gaps in the learning process to help your students get the most out of using the EDP.
[What is the engineering design process?](id-what)
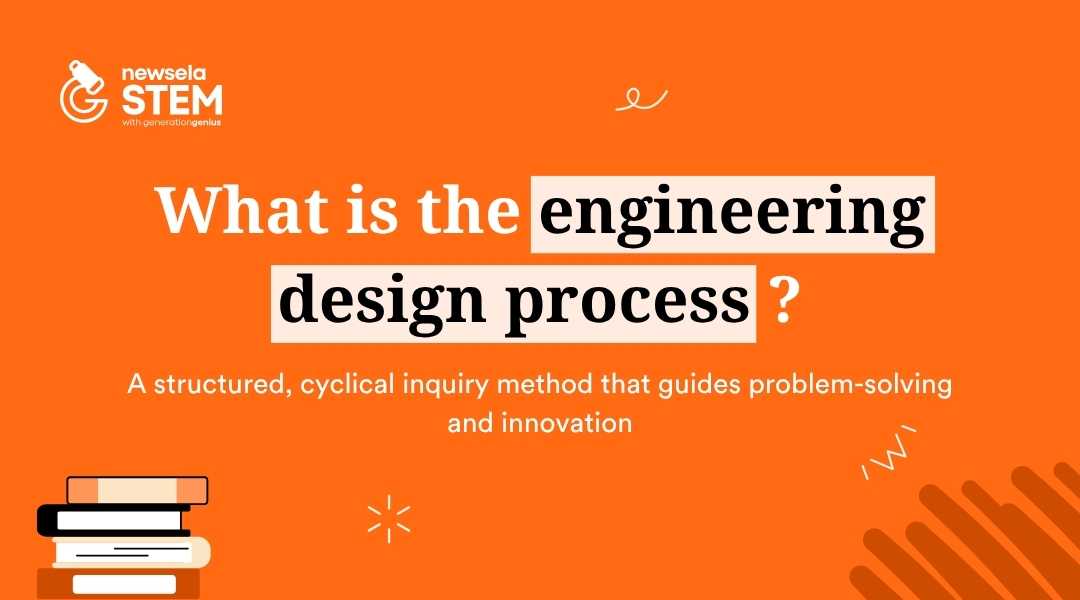
A slide from a Newsela Science presentation with the title "What is the engineering design process?" and the definition: "A structured, cyclical inquiry method that guides problem-solving and innovation."
The engineering design process is a structured, cyclical inquiry method that guides problem-solving and innovation. Various models of the EDP exist with slightly different steps or names for the steps, but they all share similar characteristics:
Process: The EDP provides a flexible approach to problem-solving, allowing students to learn important information about the problem and possible solutions.
Purpose: The EDP always begins with a clear, explicit goal or a specific end destination.
Constraints: The EDP requires designers to choose solutions that include desired features while accounting for limitations like time, cost, and available materials and tools.
Iteration: The EDP has repeatable steps, though not always in the same order. They focus on planning, modeling, testing, and improving designs.
Collaboration: The EDP is typically used during group projects and works best with a small team of individuals with diverse knowledge and experiences.
Why should I introduce my students to the engineering design process?
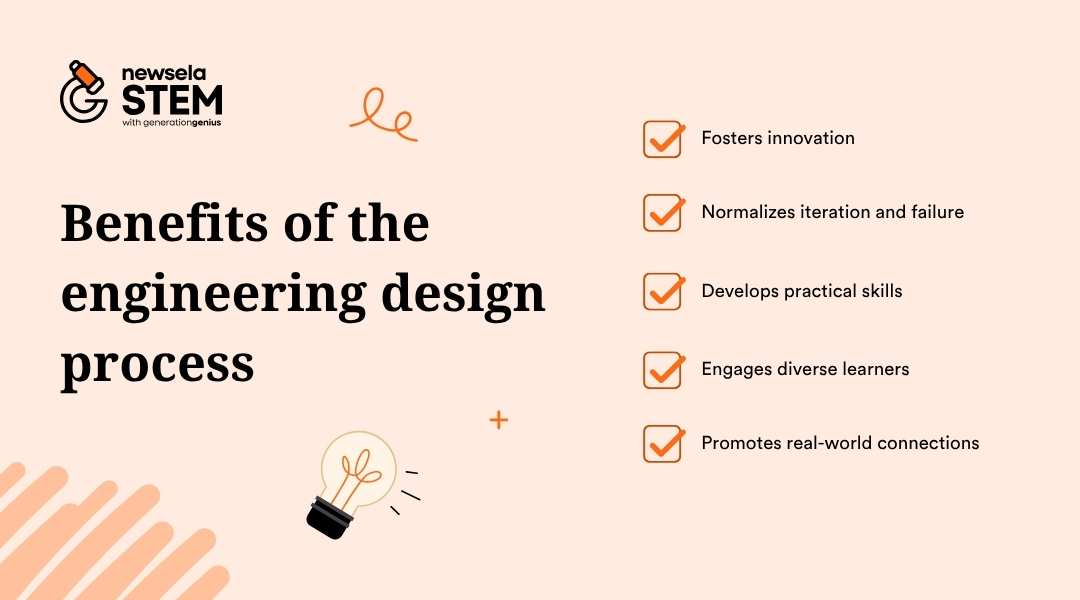
Teaching students the steps of the EDP and how to use them sets the stage for real-world problem solving and STEM careers. Some of the benefits include:
Fostering innovation: The EDP can act as a catalyst for creative thinking and developing out-of-the-box solutions.
Normalizing iteration and failure: The EDP emphasizes that failure is an expected step on the way to success. This can help build students’ resilience and adaptability.
Developing practical skills: The EDP encourages students to practice hands-on learning and create both practical and creative solutions by applying science and math concepts.
Engaging diverse learners: The EDP invites students of all grade bands and learning abilities to participate and demonstrate their skills in an accessible way.
Promoting real-world connections: The EDP helps students understand how real engineers work, why their solutions matter, and how they can solve real-world problems while still in school.
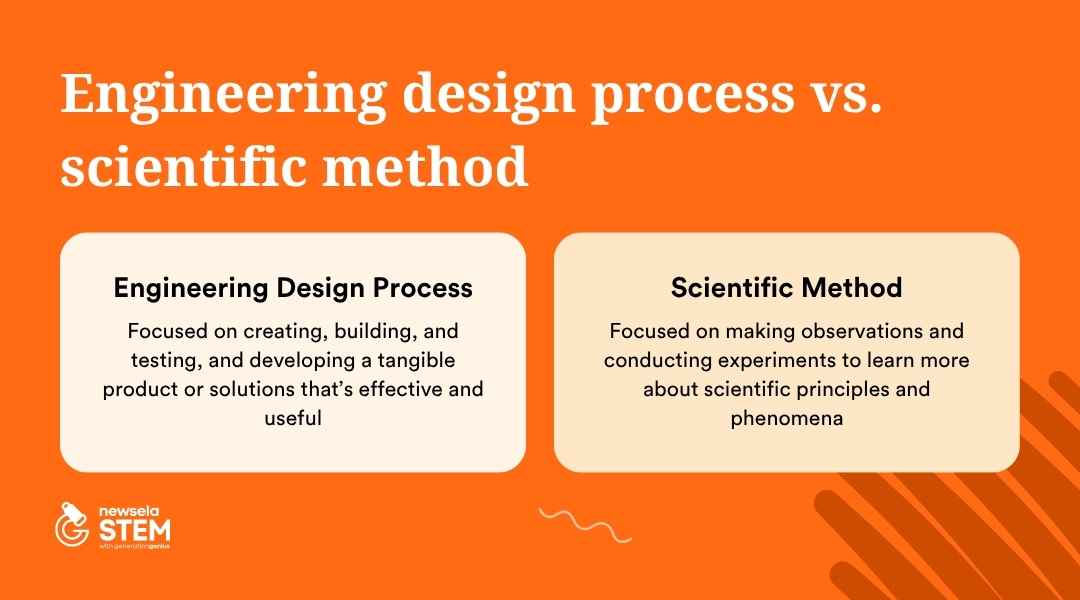
How is the engineering design process different from the scientific method?
Though both the EDP and the scientific method are a series of steps often taught in science class, they’re not the same thing.
The engineering design process is focused on creating, building, and testing. When working with the EDP, you’re building and testing a tangible product or solution. You want to see if the things you create are effective and useful.
In contrast, the scientific method involves making observations and conducting experiments. While the experiments usually have a testing component, the end goal isn’t to create a usable product. The goal is to learn more about scientific principles and phenomena.
[7 steps of the engineering design process](id-steps)
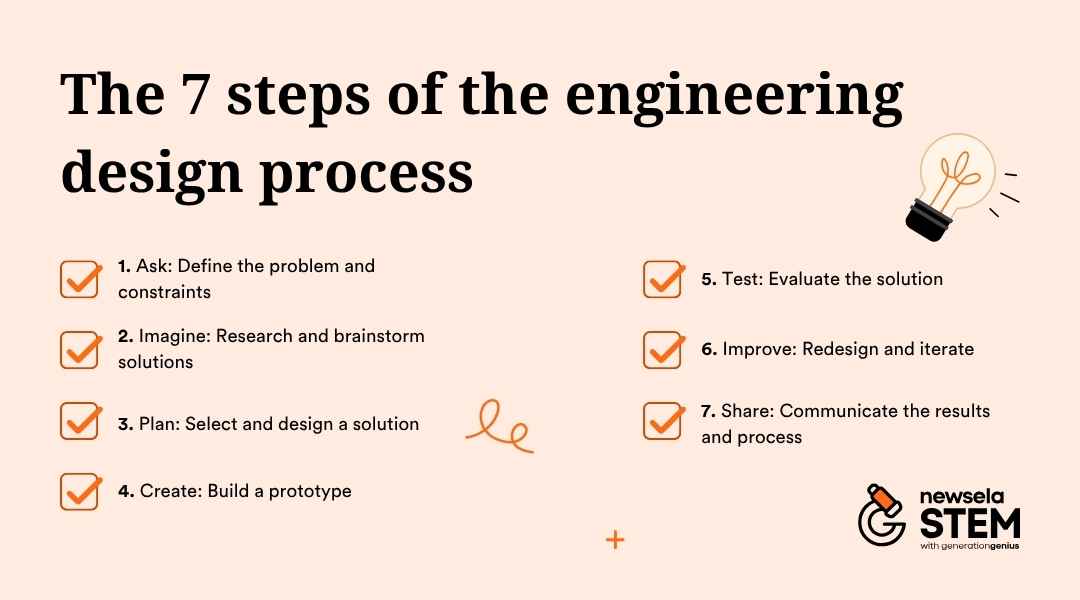
Explore the seven steps in this flexible framework that list the core actions of the engineering design process:
1. Ask: Define the problem and constraints
The “Ask” phase sets the foundation for the entire engineering project. Students must define their problem and set goals for its outcome. Encourage students to restate their problem in multiple ways to gather more diverse feedback. A mind map or a design notebook can help with this activity.
During this step, students must also identify the criteria for a successful solution while considering the constraints or limitations put on their project. Common constraints may include class time or available tools and materials.
To get students thinking deeply about their problem, try asking them to complete these sentence starters in their design notebooks:
Elementary: “The problem we need to solve is…,” “I think this is important because…,” “Our design needs to…”
Middle school: “We are solving this problem for…,” “Some limits we have are…,” “The success of our design depends on…”
High school: “The need or opportunity we identified is…,” “Key criteria and constraints include…,” “This matters because it impacts…”
2. Imagine: Research and brainstorm solutions
The “Imagine” phase is the creative aspect where students research, brainstorm, and generate ideas. Students should research existing solutions and consult various resources online, in print, or in person to learn about past inventions and common mistakes. This can help them enhance ideas or combine features into new solutions.
Encourage students to brainstorm as many solutions as possible. Even “wild ideas” or unconventional thoughts could have value later. During brainstorming, remind students that the best designs and solutions involve teamwork. Everyone’s ideas have value and should be heard, especially in the early planning stages.
Try these sentence starters to help students articulate their ideas:
Elementary: “One idea I have is…,” “What if we tried…”
Middle school: “Based on our research, one possible solution is…,” “This idea might work because…”
High school: “Our brainstorming led us to consider…,” “This approach is inspired by…”
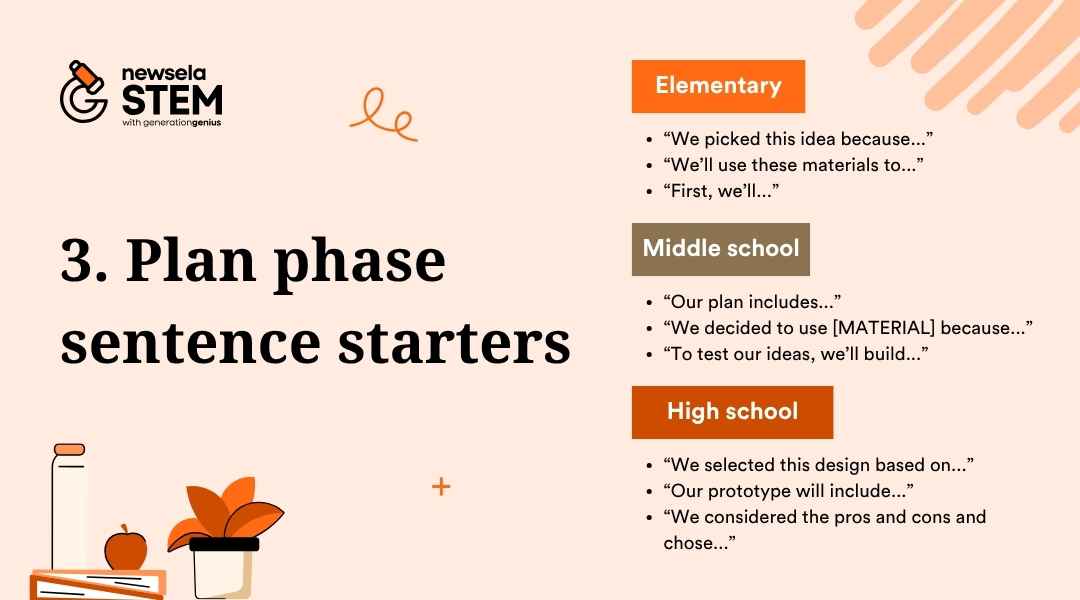
3. Plan: Select and design a solution
The “Plan” stage is where ideas start to take shape. Students review and collaborate on their brainstorming to select and design a solution to achieve their end goal. Guide students to evaluate their potential solutions against their criteria and constraints. Emphasize that choosing the best or most useful solution often involves weighing the pros and cons of each possible idea.
After choosing their solution, students can start to develop, refine, and improve their idea. This iteration will continue throughout the design process. The first step may be to sketch detailed plans for their solution and list the materials needed to create it.
Offer these sentence starters to help students share their chosen solutions:
Elementary: “We picked this idea because…,” “We’ll use these materials to…,” “First, we’ll…”
Middle school: “Our plan includes…,” “We decided to use [MATERIAL] because…,” “To test our ideas, we’ll build…”
High school: “We selected this design based on…,” “Our prototype will include…,” “We considered the pros and cons and chose…”
4. Create: Build a prototype
The “Create” phase helps bring ideas to life in a tangible form. Students use their materials list to start building their prototypes. These will often be made with cheaper, more accessible materials than a final product would. Encourage students to use low-budget and versatile materials and tools like cardboard, craft sticks, plastic bottles, and scissors to make their prototypes.
The main goal of this stage is to verify if the intended design meets the final objective. To help students share their findings from prototype creation, ask them to complete these sentence starters:
Elementary: “We’re building a model of…,” “Our prototype looks like…,” “We used [MATERIALS] to build…”
Middle school: “The prototype represents our first attempt to…,” “We followed our plan, but had to change…,” “While building, we realized…”
High school: “To build our prototype, we used…,” “We encountered challenges when…,” “This model demonstrates our design intent by…”
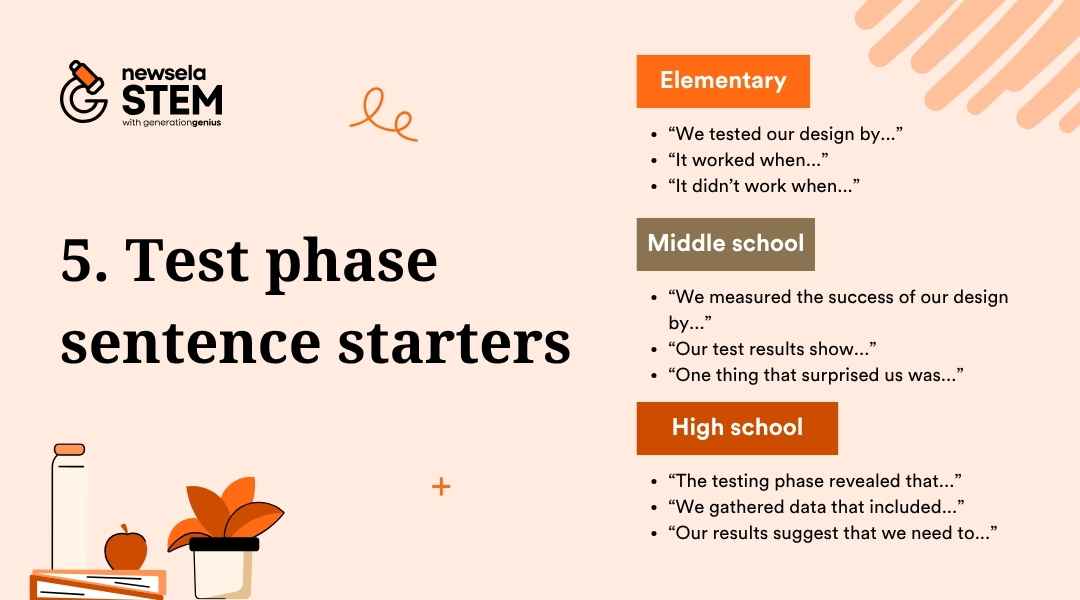
5. Test: Evaluate the solution
The “Test” phase helps students assess the performance of their prototype. While it’s not a finished product, the prototype is successful if it meets the students’ end goal. Emphasize the importance of testing, analyzing results, and documenting observations.
Students should track both qualitative and quantitative data when possible. For example, if students are making a new adaptable step stool, they’d want to track how much weight it can hold (quantitative) and if it’s actually usable by the target audience (qualitative).
It’s helpful to test with potential users in the problem environment, observe their interactions, and ask specific questions. When solving real-world problems, it may be difficult to invite people outside the classroom to participate as testers. If students are solving problems that affect them and their peers, it will be easier to assemble a testing sample group.
At this stage, it’s also important to reinforce that “failure” in the EDP isn’t a bad thing. When students find mechanical or safety issues during testing, these are opportunities for improvement. These situations should encourage students to keep thinking and testing until they find a solution that works.
To help students share information about their testing, have them complete these sentence starters:
Elementary: “We tested our design by…,” “It worked when…,” “It didn’t work when…”
Middle school: “We measured the success of our design by…,” “Our test results show…,” “One thing that surprised us was…”
High school: “The testing phase revealed that…,” “We gathered data that included…,” “Our results suggest that we need to…”
6. Improve: Redesign and iterate
The “Improve” phase incites students to refine their solutions based on feedback. This feedback typically includes the qualitative and quantitative test results, observations, potential user interviews, and more.
Understanding issues that arose during testing may be easy, but coming up with solutions to fix them may be trickier. Invite students to return to brainstorming, building, and testing to explore additional solutions.
It’s also important to manage students’ expectations about iteration. The EDP may be a long process that includes many trials and errors. It’s highly unlikely that they’ll get a perfect prototype on the first, second, or even third try.
Another tip is to keep students grounded in what’s realistic to be done in the classroom. Because iteration can take so long, students may not get a perfect solution in the allotted class time. Instead, they can focus on learning what worked and what didn’t, and consider how they would make adjustments if they had more time.
To help students share their thoughts on iteration, try these sentence starters:
Elementary: “Next time, we’ll try…,” “We can fix it by…,” “We want to make it better by…”
Middle school: “One way to improve this design is…,” “Our feedback helped us realize…,” “We’re revising it because…”
High school: “Iteration is necessary because…,” “We’ll adjust the design by…,” “Based on our data, our next steps are…”
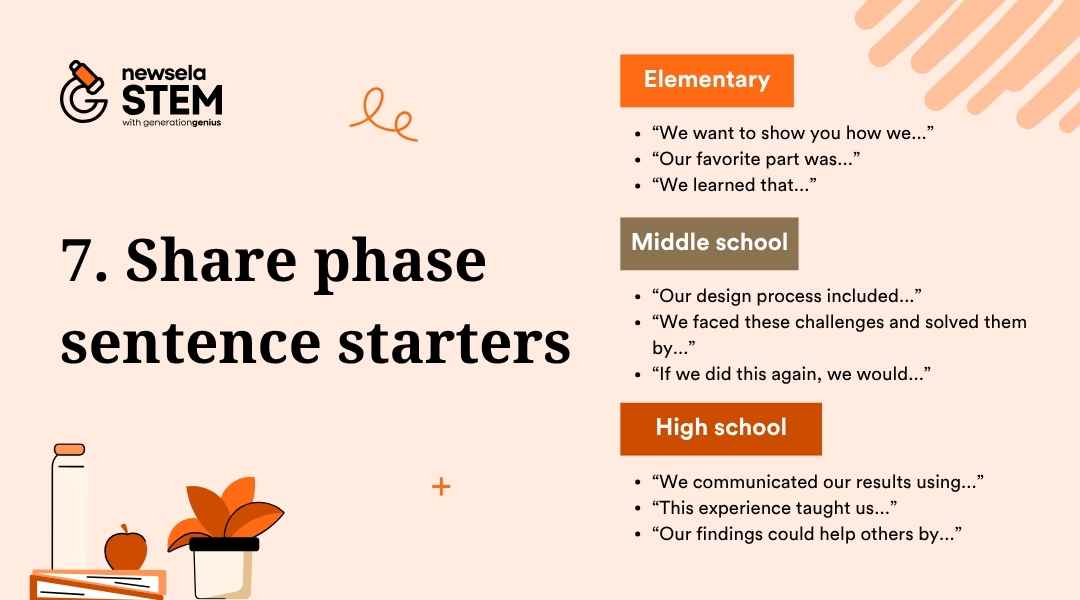
7. Share: Communicate the results and process
The “Share” step is the final step in the EDP. This step is where students communicate their processes and results with an audience that usually consists of their teachers and peers. This is a crucial step and not one to skip or overlook when teaching the EDP.
Have students go beyond just displaying a final product. Encourage them to share their design process—including challenges and how they met them—through oral presentations, written reports, or another type of assessment.
To help students share their findings, ask them to use these sentence starters:
Elementary: “We want to show you how we…,” “Our favorite part was…,” “We learned that…”
Middle school: “Our design process included…,” “We faced these challenges and solved them by…” “If we did this again, we would…”
High school: “We communicated our results using…,” “This experience taught us…,” “Our findings could help others by…”
[Challenges of teaching the engineering design process](id-challenge)
When teaching the engineering design process for the first (or 50th!) time, you may run into some common challenges. Browse the questions below to find one that matches your wonderings, and get answers for how to solve them:
How can I assess student progress when they’re using the EDP?
Assessing students when they’re using the engineering design process may not be as straightforward as it is with traditional instruction. Rather than grading quizzes and homework, you may need to use alternative assessment methods to evaluate students’ progress while they’re working.
Using rubrics that evaluate students’ progress at each step can help. For example, a student may demonstrate above-average skills in the testing phase if they collect both qualitative and quantitative data, seek out a variety of testing opportunities, and document their findings clearly to use at the next step.
Self- and peer assessments guided by project rubrics can also help students check in with themselves and with each other to ensure they understand the EDP steps and use the right skills to achieve their goals.
Are there ways to scaffold the EDP for different grade bands?
You can use the engineering design process with all grade bands, but the vocabulary and structure you can use with tenth graders would be much more advanced than that for first graders.
You can create developmentally appropriate scaffolds to make these concepts accessible to different age groups. The sentence starters we’ve included in this blog are just one way to do that. Another is to address common student misconceptions by grade level.
For example, younger students may think that the EDP is “just building,” similar to how they might with building blocks at home or during recess. Another misconception for middle schoolers may be that there will always be one right answer or solution to their problem, when, in fact, there could be many.
Helping students build their metacognition in the elementary grades and encouraging them to reflect on their own thinking, processes, and experiences can help them develop the skills to use the EDP more effectively as they move into the upper grades.
How can I help my students build collaboration skills while using the EDP?
Lessons that involve the engineering design process are great for encouraging group projects and teamwork. Yet, students may face challenges when working with others rather than working independently.
Uneven participation, disagreements, and sharing credit may all be problems students encounter during these activities. Try teaching explicit collaborative problem-solving norms as part of EDP instruction.
Posing situations like, “What should I do if my team doesn’t listen to me?” or “Who should get credit for our ideas?” can help students think through these situations before they encounter them. That can give them ideas for how to handle conflict resolution if needed.
How can I make the EDP more relevant and relatable for students?
By nature, teaching the engineering design process encourages students to engage with real-world problems and solutions. But to hold their interest, it also helps to make the project content relevant and relatable.
Consider your students’ home lives, cultural backgrounds, and other demographic factors when planning an EDP activity. Allow for student choice to give them more autonomy to pick a topic that’s relevant and exciting to them.
Finding resources that show people of all genders and backgrounds in STEM fields working on real problems like theirs can also help students feel more connected to their projects.
Can I teach the engineering design process with limited time and materials?
When planning an EDP lesson or activity, it’s important to keep in mind what’s realistic for your classroom. How much time can you dedicate to this lesson? Do you have the classroom space or enough materials so that everyone can participate?
If time is your biggest constraint, try to plan simpler activities where students can move through all the steps within one or two class periods. For example, coming up with a way to prevent water bottles from dripping onto students’ desks may be a quick lesson you could do in a class period.
If finding enough materials is your biggest challenge, see what recyclables you can bring from home to create a STEM materials library. Cardboard boxes, paper towel rolls, water bottles, and leftover craft supplies all work. You can also ask students to “donate” these types of materials and bring them from home to grow the library.
If space is your biggest concern, talk with other faculty and staff members to brainstorm solutions. Maybe you can book time in the cafeteria, gym, or library to give students more space to spread out and work. If it’s a nice day and you have administrator permission, try taking students out to the lawn, playground, or parking lot and work outside.
What can I do to feel more confident when teaching the EDP?
As with other STEM concepts, professional development and training on teaching the engineering design process may be limited. You can request ESP professional learning sessions from your administrators, but if you want more individualized opportunities, try:
Researching videos or case studies where other teachers have successfully added EDP to their lessons. Take notes on the tips you want to try.
Engaging in EDP mentorship with another, more experienced teacher or coach in your school or district. Work on collaborative planning and curriculum sharing to learn from their expertise.
[Tips for using the engineering design process in K-12 classrooms](id-tips)
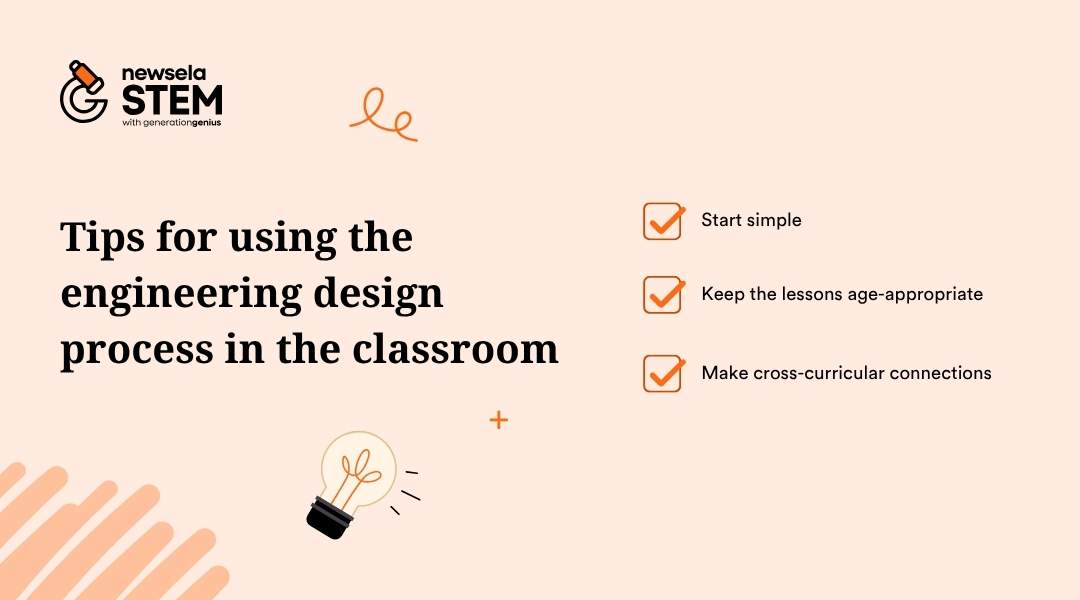
Ready to start using the engineering design process with your students? Keep these tips in mind for targeted, easy-to-implement lessons:
Start simple
You can teach students the steps of the engineering design process with simple, everyday examples. You might choose to pose the question, “How can we make a sandwich using bread, meat, cheese, dressing, and vegetables and keep the bread from getting soggy?”
Students can use the steps of the process to come up with solutions, such as putting the dressing between the meat and cheese instead of on the bread, or thoroughly drying the vegetables before adding them to the sandwich.
It also helps to show students how real-world inventions that they use each day originated through the iterative design process. Discussing historical figures and inventors like the Wright Brothers and their airplane or Alexander Graham Bell and the telephone can help students see how the process works.
Keep the lessons age-appropriate
Students will get the most out of their EDP activities when the content and expectations are age-appropriate. Try these example activities for students of different grade bands:
Early elementary (K-2): Create a compost habitat for worms or consider solutions to help people visualize sounds.
Upper elementary (3-5): Build model race cars for an in-class derby or consider how to keep a model boat from leaking.
Middle school (6-8): Design a water filter using simple materials or construct water bottle rockets.
High school (9-12): Create prosthetic solutions for people or animals who have lost a limb or build a contraption that protects an egg from breaking when dropped.
Make cross-curricular connections
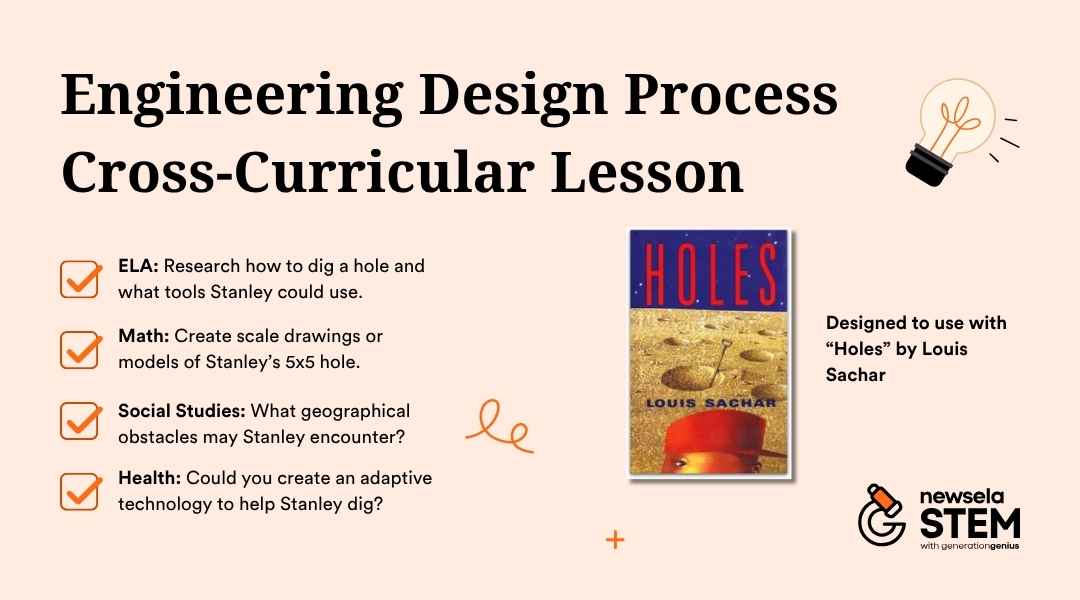
While you’ll most often hear about the engineering design process in science and math classes, it can actually be used across the curriculum and include other subjects. Consider these ways you can have an EDP activity span different classes:
ELA: Ask students to solve the problem for a character in a book. For example, how could they help Stanley in “Holes” dig a more efficient hole? Research how to dig a hole and what tools he could use.
Math: Add measurement to the lesson by considering Stanley’s constraints of digging a five-foot-wide by five-foot-deep hole. Create scale drawings or models to consider what the hole would look like.
Social studies: Consider the geography of Camp Green Lake. Are there any natural obstacles that Stanley may encounter when digging his hole?
Health: What physical limitations might prevent Stanley from digging an efficient hole? Are there any adaptive technologies students could create to help him?
Make real-world science relevant with Newsela STEM
Newsela STEM with Generation Genius elevates K-12 science education, seamlessly weaving in technology and engineering concepts, with math as a complement. It’s your tool to fuse STEM and literacy, thanks to great features like:
Engaging science content: Boost students’ interest in and knowledge of science concepts with real-world phenomena, timely news, and Generation Genius videos.
Aligned Curriculum Complements: Enhance and support the curriculum materials you already use with content aligned to top science resources.
AI-powered tools: Use Luna, your AI teaching assistant, to generate lesson plans, translate text into 40+ languages, define Tier III vocabulary words, generate graphic organizers, and more!
Deeper learning supports: Tuva interactive datasets, Generation Genius 5E lessons, Claim-Evidence-Reasoning prompts and activities, and science courses for every grade band allow students to dive into deeper learning driven by critical thinking.
Embedded scaffolding: Make complex science texts and concepts accessible with embedded scaffolding tools like adaptive leveling and read-aloud mode.
Skill-building resources: Support the Next Generation Science Standards (NGSS) with ready-to-go activities, performance tasks, and teacher supports.
Not a Newsela customer yet? Sign up for Newsela Lite and get a 45-day free trial of all our premium knowledge and skill-building products to help you create engaging and authentic STEM lessons.
Everything you need to accelerate learning across ELA, social studies, and science
Browse more educational and seasonal content from Newsela.
Blog
What Is STEM Education and How Does It Fit Your Classroom?
Discover what STEM education is, why it’s so important, and how you can overcome challenges to seamlessly integrate STEM lessons into any classroom or curriculum.
Discover 7 challenges teachers can have when incorporating STEM learning into their classrooms, and ways you can combat them for a more seamless implementation.

 Products Overview